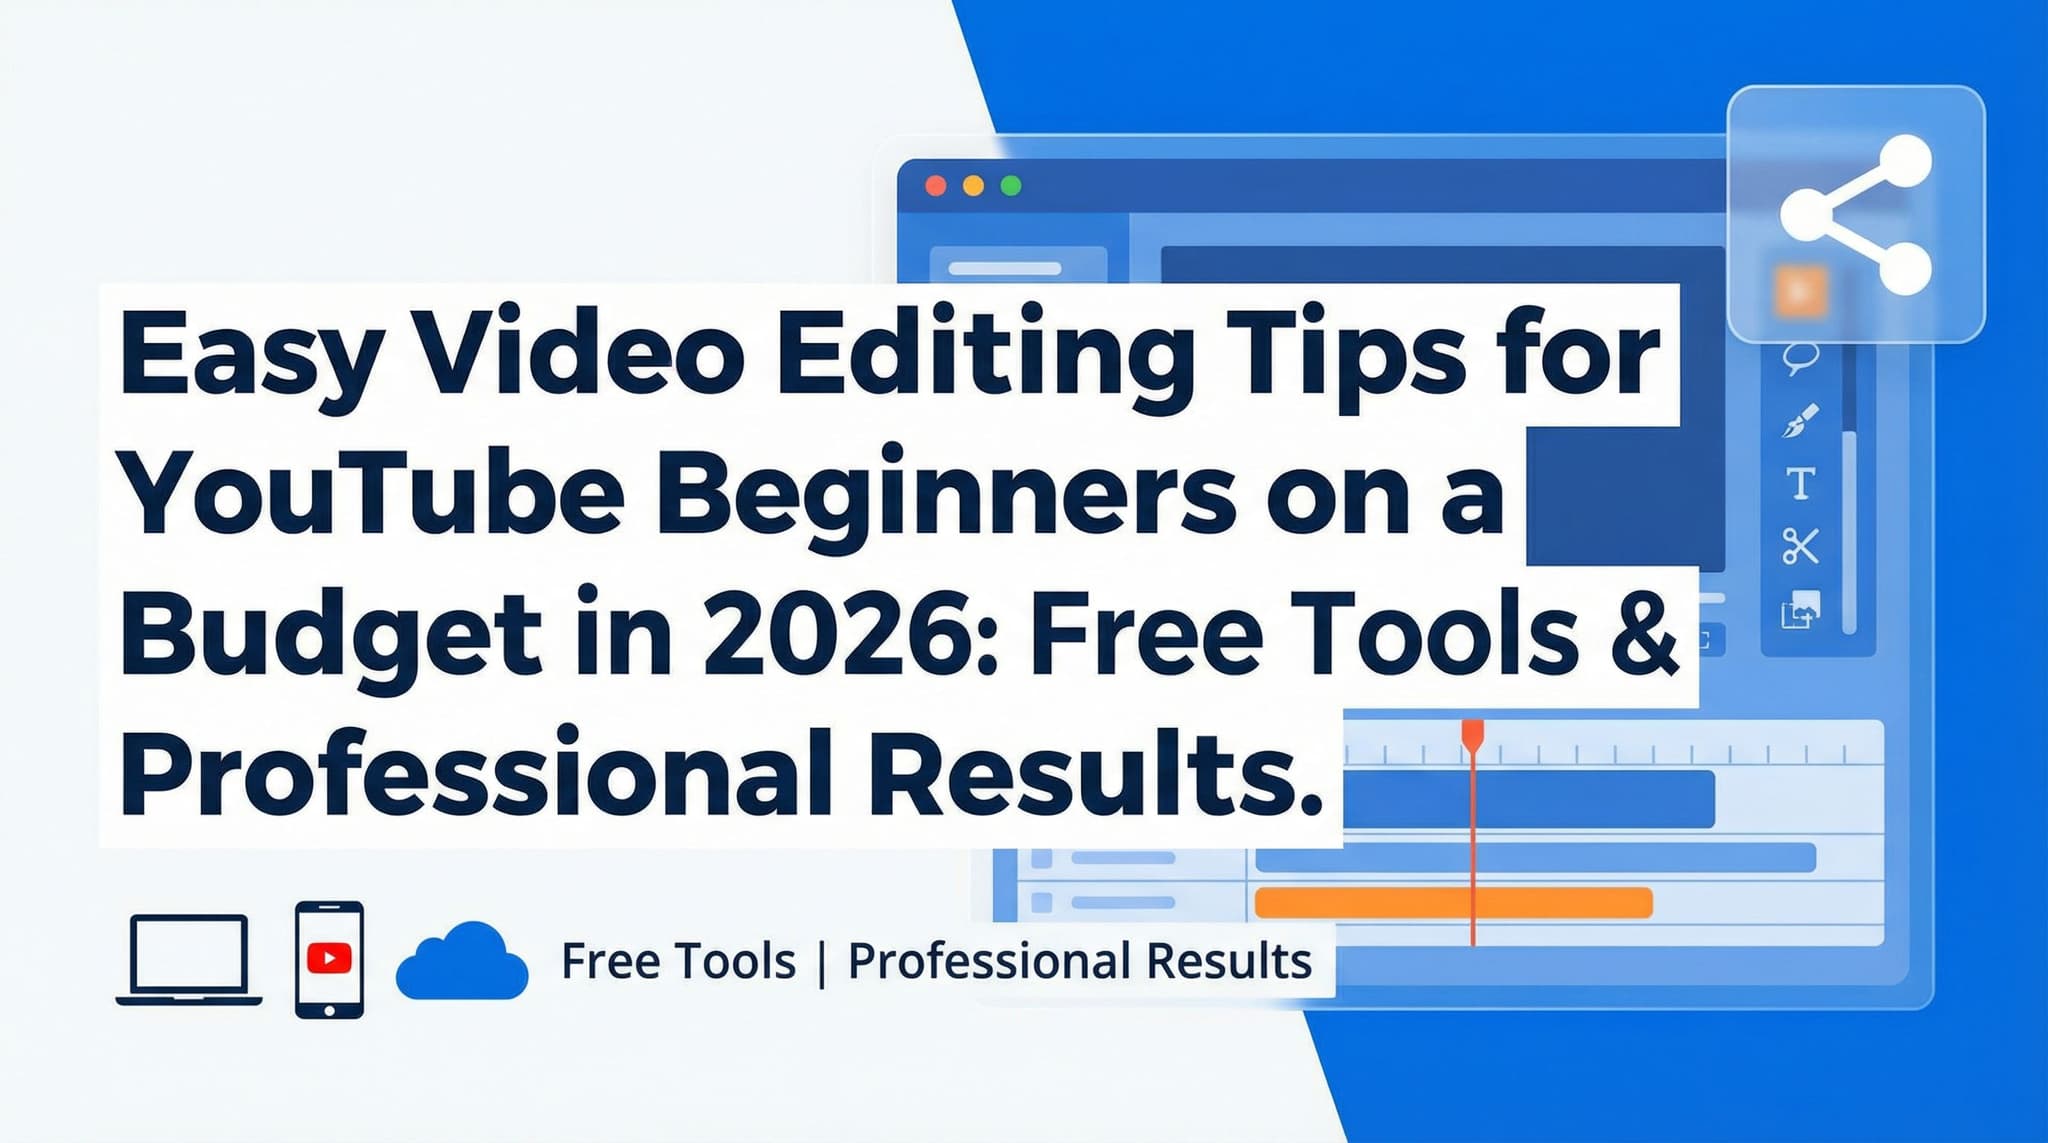
Easy Video Editing Tips for YouTube Beginners on a Budget in 2026: Free Tools & Professional Results
Let's be real—when you're starting a YouTube channel, the last thing you want to do is sink thousands of dollars into editing software before you've even published your first video. The good news? You absolutely don't have to. In 2026, the landscape of free and affordable video editing tools has exploded, and honestly, the quality gap between free software and expensive professional suites has narrowed dramatically.
I've watched countless creators get paralyzed by the decision of which editing software to buy, spending weeks researching Adobe Premiere Pro or Final Cut Pro when they could've already published 10 videos using free tools. The truth is, your content quality matters infinitely more than your software choice. A well-paced, thoughtfully edited video made in CapCut will outperform a poorly edited video made in the most expensive software money can buy.
This guide isn't just a list of free tools—it's your complete roadmap to building a sustainable YouTube channel on a minimal budget. We'll walk through the progression pathway from your first mobile edit to a full desktop editing setup, cover the essential techniques that separate amateur videos from polished content, and give you a realistic budget timeline so you know exactly when (and if) you should upgrade your tools.
Section 1: Choosing Your Editing Arsenal—Free and Low-Cost Tools That Actually Work
The editing software landscape in 2026 offers something genuinely remarkable: professional-grade tools available for absolutely nothing. This wasn't always the case. Five years ago, if you wanted serious editing capabilities, you were looking at subscriptions starting at $20-50 per month. Today, you've got options that can legitimately compete with paid software, and we're going to break down exactly which tools are worth your time based on your specific situation.
The key to choosing the right tool isn't finding the "best" one—it's finding the one that matches your current workflow, hardware, and goals. A student editing TikTok-style shorts on their phone needs something completely different from someone producing long-form YouTube essays on a laptop. We'll cover both scenarios and everything in between.
What's important to understand is that most of these free tools have zero limitations on video length, resolution, or export quality. You're not dealing with watermarks (except in rare cases), and you're not hitting arbitrary feature caps. The developers behind these projects—whether open-source communities or companies offering free tiers—genuinely want creators to succeed. They make money through optional premium features, donations, or in some cases, they're just passionate about democratizing video creation.
1.1 Mobile Editing: CapCut and the Rise of Phone-First Content Creation
CapCut deserves its own paragraph because it's genuinely revolutionized how creators approach video editing. This app, which went from a Chinese TikTok tool to a global phenomenon, has become the go-to choice for creators just starting out. And here's why: it's free, it's powerful, and it has zero learning curve.
When you open CapCut for the first time, you're not staring at a confusing timeline with thirty different panels. You get a straightforward interface where you import footage, tap where you want to cut, and boom—it's cut. Transitions? Tap the button between clips, choose from hundreds of options, and they apply instantly. The app includes built-in effects, filters, text overlays, music library, and sound effects—essentially everything you need to create polished short-form and medium-form content without ever leaving the app.
The real genius of CapCut is that it recognizes auto-captions in 150+ languages. For YouTube Shorts, TikToks, or Instagram Reels, this single feature saves hours of manual work. You record, upload to CapCut, let it auto-caption, make minor corrections if needed, and you're done. This is why so many successful creators (including some who've scaled to millions of subscribers) still use CapCut for quick content, even after they've built editing workflows in professional software.
One thing to note: CapCut does offer a paid version with additional features, but you genuinely don't need it when you're starting. The free version includes everything mentioned above plus a massive library of royalty-free music, so you're not limited in any meaningful way. The only reason to upgrade is if you want slightly more advanced color grading options or want to remove the CapCut watermark on exports (though honestly, most successful creators just export without it, and it doesn't appear on YouTube).
1.2 Desktop Editing: DaVinci Resolve—The Professional-Grade Free Option
If CapCut is the sprinter, DaVinci Resolve is the marathon runner. This is genuinely professional software that's used in Hollywood productions, and the free version is almost absurdly powerful. We're talking color grading, advanced audio mixing, effects, fusion compositing, and a timeline that handles 4K video without breaking a sweat.
DaVinci Resolve has a steeper learning curve than CapCut—we're not going to pretend otherwise. When you first open it, you'll see multiple tabs (Cut, Edit, Fusion, Color, Fairlight, Deliver), and if you're not familiar with professional editing terminology, it can feel overwhelming. But here's the thing: you don't need to use all of it. For YouTube videos, you'll primarily work in the Edit and Color tabs, and maybe touch Fairlight for audio. The Cut tab is actually designed specifically for people new to professional editing, offering a simplified interface that's closer to CapCut's simplicity while still giving you professional tools.
The free version of DaVinci Resolve handles unlimited video length, unlimited resolution (including 8K), and unlimited projects. You get access to the color grading tools that professionals use to make videos look cinematic. The only features locked behind the paid Studio version are some advanced effects and a few specialized tools that most YouTube creators will never need. For your purposes—creating engaging YouTube content—the free version is legitimately all you need.
DaVinci Resolve works on Windows, Mac, and Linux, which is important if you're using older hardware or non-standard systems. The learning curve is real, but there are thousands of free tutorials specifically for beginners, and the investment in learning it pays dividends as your channel grows.
1.3 Alternative Desktop Options: OpenShot, Shotcut, and HitFilm Express
While DaVinci Resolve is our top recommendation for desktop editing, it's worth knowing about other options because different tools click with different people. OpenShot and Shotcut are both open-source (meaning free, forever, no strings attached), and they're more lightweight than DaVinci Resolve, which matters if you're working on older hardware.
OpenShot has a friendly interface that feels somewhat similar to CapCut translated to desktop. It's perfect for simple edits—cutting, transitions, basic effects—and it exports cleanly without watermarks. If you're just starting and want something that won't overwhelm you, OpenShot is legitimately great. The trade-off is that it doesn't have the professional color grading capabilities of DaVinci Resolve, but for most YouTube content, you don't need that anyway.
Shotcut is the more powerful open-source option. It's comparable to DaVinci Resolve in terms of capabilities but has a different interface that some people find more intuitive. Both OpenShot and Shotcut are completely free and open-source, which means they're maintained by passionate communities rather than companies, and they'll never charge you or add ads.
HitFilm Express is the middle ground—it's free but developed by a commercial company (Hitfilm). The free version is genuinely feature-rich, and it's particularly good if you're interested in visual effects and motion graphics. It has a more modern interface than some of the open-source options and includes a solid effects library. Like the others, the free version has no watermarks and no artificial limitations on video length or resolution. The paid add-ons are optional and expensive, but you don't need them to create professional YouTube content.
The honest take? Start with CapCut if you're on mobile, move to DaVinci Resolve if you want desktop editing, and only explore the alternatives if DaVinci's interface doesn't click with you. But knowing these options exist means you're not locked into anything—you can experiment with what feels natural to your workflow.
Section 2: Mastering the Techniques That Transform Amateur Videos Into Polished Content
Owning the best software in the world doesn't matter if you don't know what to do with it. The difference between a video that gets 100 views and one that gets 10,000 views usually comes down to editing technique, not software choice. A creator using CapCut with solid editing skills will consistently outperform someone using DaVinci Resolve who doesn't understand pacing, audio balance, or visual hierarchy.
The good news is that the essential techniques are straightforward to learn and implement. You don't need years of film school or thousands of dollars in training courses. You need to understand five core concepts: cutting, transitions, color correction, audio balancing, and text overlays. Master these, and you'll have the foundation for professional-looking YouTube content. Everything else—effects, motion graphics, advanced color grading—is building on top of this foundation.
What makes these techniques so powerful is that they work regardless of your subject matter. Whether you're making gaming videos, educational content, vlogs, or tutorials, these principles apply. We're going to break down each one with specific, actionable steps you can implement in your next video.
2.1 Cutting and Pacing: The Foundation of Engaging Video
Cutting is the most fundamental editing skill, and it's where amateur videos immediately reveal themselves. Bad cutting makes viewers uncomfortable without them knowing why. Good cutting makes videos feel alive and engaging. The difference is understanding pacing.
Here's the principle: cut out anything that doesn't move your video forward. This includes long pauses, ums and ahs, moments where nothing is happening, and tangents that don't serve your narrative. When you remove these dead spaces, your video automatically feels more professional because it respects the viewer's time.
In CapCut, you do this by importing your footage, tapping where you want to cut, and removing the section. In DaVinci Resolve, you place your cursor on the timeline and use the keyboard shortcut (Ctrl+B on Windows, Cmd+B on Mac) to cut. Both are fast once you get the muscle memory down.
The key metric is pacing. Watch your video at normal speed and ask: would I want to watch this? If you find yourself wanting to skip ahead, that's your signal that the pacing is off. A good rule of thumb for YouTube is that you should be cutting roughly 30-50% of your raw footage, especially when you're starting. This means for every hour of raw footage, you're creating 30-40 minutes of edited video. As you get better at planning shots, this ratio improves, but aggressive cutting is your friend when you're learning.
The psychological effect of good cutting is powerful. When cuts are well-timed to music beats, dialogue, or visual changes, viewers feel engaged. When cuts are random or poorly timed, viewers feel bored even if the content is good. This is why music choice matters so much in video editing—it gives you a rhythm to cut to.
2.2 Transitions, Color Correction, Audio Balancing, and Text Overlays
Transitions are where a lot of beginners go wrong, so let's address this directly: less is more. A subtle crossfade between clips is elegant and professional. A wild spinning 3D transition between every clip screams "I just discovered transitions exist." Use transitions intentionally, not as decoration. A good rule: 80% of your cuts should have no transition at all (a hard cut), 15% should have a simple crossfade, and 5% might have something more creative. This maintains visual interest without becoming distracting.
Color correction is the technique that makes videos look intentional rather than like they were shot on whatever device was available. You don't need to become a color grading expert, but understanding a few basic adjustments transforms your footage. In DaVinci Resolve, go to the Color tab and adjust exposure (is it too dark or bright?), contrast (does it need more pop?), and saturation (are colors vibrant or muted?). These three sliders solve about 90% of color problems. Most YouTube content doesn't need fancy cinematic color grading—it needs to look clean, consistent, and intentional.
Audio balancing is where amateur videos really reveal themselves, and it's the easiest thing to fix. If your dialogue is too quiet relative to your background music, viewers will turn up the volume, then get blasted by the music. If your background music is too loud, it drowns out what you're saying. In most editing software, you can see audio waveforms. Make sure dialogue is clearly louder than background elements. A simple rule: your voice should be the dominant element, with music and effects supporting it. In DaVinci Resolve's Fairlight tab (audio mixing), you can see exactly how loud everything is and adjust individual tracks. In CapCut, you tap the audio track and adjust the volume slider. It's that simple.
Text overlays serve multiple purposes: they emphasize key points, they add visual interest, and they help with accessibility. YouTube's algorithm actually favors videos with captions (whether auto-generated or added manually), so text overlays aren't just cosmetic—they help your video perform. Use bold, readable fonts in colors that contrast with your background. Don't use more than 2-3 words per overlay unless you're doing a subtitle. Keep text on screen long enough to read comfortably (roughly 3 seconds for a typical overlay), and don't overcrowd your screen with text and visuals at the same time.
2.3 Achieving Professional Results Without Premium Plugins or Subscriptions
Here's what you need to know about premium plugins: 99% of them are nice-to-haves, not need-to-haves. A creator can produce genuinely professional YouTube content using only the built-in tools in free software. The plugins that cost money usually offer shortcuts or specialized effects, but you can achieve similar results with the free tools already available to you.
The most important professional element isn't fancy effects—it's consistency. If you use the same color grading across all your videos, the same transition style, the same text font, and the same intro/outro format, your channel will look professionally produced even though you're using free tools. Viewers subconsciously recognize consistency as a sign of professionalism.
In DaVinci Resolve, you can create "looks" (saved color grading settings) that you apply to every video. In CapCut, you can use the same filter on all your clips. This takes 30 seconds per video and makes an enormous difference. Professional YouTube channels like Marques Brownlee (MKBHD) and Ali Abdaal have signature visual styles that they maintain consistently. You're not trying to copy them, but understanding that consistency creates the perception of professionalism is crucial.
Another pro move: use the built-in effects and transitions that come with your software rather than downloading external plugins. These are designed to work smoothly and are optimized for your specific software. External plugins sometimes cause crashes, slow down your computer, or produce unpredictable results. The effects already in DaVinci Resolve or CapCut are genuinely good enough for professional YouTube content. Save external plugins for when you have a specific creative need that the built-in tools can't solve.
The final piece is understanding that professional results come from planning, not from tools. A well-planned video with intentional shots, clear audio, and good pacing will look professional regardless of software. A poorly planned video with fancy effects will still look amateur. Invest your energy in planning and execution first, tools second.
Section 3: Building a Sustainable YouTube Channel: Workflows, Resources, and the Budget Timeline
Creating one good video is one thing. Creating good videos consistently is where most creators fall apart. This is why workflow and resource management matter just as much as technical skills. You can master editing techniques, but if you don't have a system for organizing footage, finding music, and managing your time, you'll burn out before your channel gains traction.
We're going to cover the practical systems that successful budget creators use: how to organize your files so you can find anything in seconds, where to find free stock footage and music that actually sounds professional, the common beginner mistakes that destroy video quality, and the realistic budget timeline for when you should invest in upgrades.
The creators who succeed on YouTube long-term aren't necessarily the ones with the best equipment or the most expensive software. They're the ones who've figured out how to produce consistent, quality content without burning themselves out. That's the goal here: building a system that's sustainable for you personally.
3.1 Organizing Footage and Creating Efficient Workflows
Before you ever open your editing software, you need a file organization system. This sounds boring, but it's the difference between spending 5 minutes finding the right footage and spending 30 minutes searching through random files. When you're producing videos regularly, this adds up to hours of wasted time every month.
Here's the system that works: Create a main folder for each video project. Inside that folder, create subfolders: "Footage" (raw video files), "Audio" (voice-overs, music, sound effects), "Graphics" (thumbnails, intros, any graphics you've created), "Project Files" (your actual editing software files), and "Exports" (finished videos). When you import footage into your editing software, you're always pulling from the Footage folder. This way, your entire project is self-contained and portable.
Within the Footage folder, label your files clearly: "Interview_Take1", "B-Roll_Outside", "Screen_Recording_Tutorial", etc. Include the date in the filename ("2026-01-15_Interview_Take1") so you can quickly see which version is most recent. This takes 10 seconds per file and saves you hours of confusion later.
For your editing software project files, save them frequently and create versions. Rather than saving "MyVideo.dproj" (DaVinci Resolve format) over and over, save it as "MyVideo_V1.dproj", "MyVideo_V2.dproj", etc. This way, if you make a change you hate, you can revert to a previous version without losing hours of work.
The workflow itself should be: import all footage, organize it into bins/folders within your editing software, create a rough cut (put all your clips in order without worrying about polish), refine the cut (trim, add transitions), add audio and music, color correct, add text overlays, final review, export. Following this order consistently means you're never backtracking and redoing work. This is the difference between a 3-hour editing session and an 8-hour one for the same video.
One more thing: back up your project files. Use Google Drive, Dropbox, or any cloud storage (all have free tiers). Upload your project folder every time you finish a major milestone. Hard drives fail, computers crash, and losing weeks of work to a technical failure is genuinely soul-crushing. Cloud backup takes 30 seconds and saves your sanity.
3.2 Free Resources: Stock Footage, Music, Sound Effects, and Transitions
One of the biggest advantages of starting a YouTube channel in 2026 versus even five years ago is the abundance of free, high-quality resources available. You literally don't need to spend a single dollar on stock footage, music, or sound effects to create professional-looking videos.
For stock footage, Pexels Videos and Pixabay offer completely free, high-resolution video clips that you can use commercially without attribution (though attribution is nice). These aren't low-quality clips either—they include cinematic footage, nature scenes, people working, office environments, and more. Search for what you need, download it, and drop it into your project. Unsplash and Pixels also offer free photos if you need still images for your thumbnails or graphics.
For music, this is where YouTube's Audio Library becomes your best friend. If you have a YouTube channel, go to YouTube Studio, click on the Audio Library tab, and you have access to thousands of free music tracks and sound effects. These are all pre-cleared for YouTube use, which means you won't get copyright claims. The quality is genuinely good—many of these tracks sound like they came from professional music libraries. Search by mood, genre, or instrument, preview the track, and download. There's literally no catch.
If you want more options, Epidemic Sound and Artlist have free trials (usually 30 days), which is enough to download a bunch of tracks for your first videos. After the trial ends, they do charge, but by then you might have YouTube revenue to justify the cost. Other free options include Free Music Archive, ccMixter, and Incompetech—all have music you can use for YouTube.
For sound effects (door slams, transitions, notification sounds, etc.), Freesound.org and Zapsplat both offer thousands of free effects. YouTube's Audio Library also has a solid effects section. These add so much polish to your videos—a simple "whoosh" sound effect when you transition between scenes makes it feel intentional and professional.
For transitions themselves, most editing software includes plenty of built-in options. If you want more, sites like MotionBro (for DaVinci Resolve) offer free transition packs. But honestly, the transitions that come with your software are probably all you need. Don't get caught in the trap of downloading dozens of transition packs—you'll never use them, and they just clutter your interface.
The key principle: use resources strategically. A well-placed stock footage clip, a good music choice, and well-timed sound effects elevate your video. Overusing them makes your video feel generic. Watch successful YouTube channels in your niche and notice how they use these resources. Usually, it's subtle and intentional, not excessive.
3.3 Common Beginner Mistakes and the Realistic Budget Timeline for Growth
Let's talk about the mistakes that actually hold creators back. These aren't technical errors—they're judgment calls that damage video quality and audience retention.
Over-editing is the number one mistake. Adding transitions between every clip, using effects constantly, adding text overlays for every point you make—this exhausts viewers. It also makes your videos feel less authentic. The most engaging YouTube creators often use the simplest edits. Notice how MrBeast's videos are heavily edited for pacing and cutaways, but the transitions are minimal and the effects are strategic. It's about removing dead space, not adding visual noise.
Poor audio quality is the second biggest mistake. You can forgive low-resolution video, but bad audio is a dealbreaker. If your voice-over is recorded on your phone's built-in microphone while sitting in a room with echo and background noise, viewers will click away. Invest in a cheap USB microphone ($30-50) before you worry about camera upgrades. Record in a quiet room, or even a closet (seriously—closets are great for dampening echo). Spend time in your editing software's audio tools balancing levels and removing background noise. This single improvement will increase your audience retention more than any other change.
Inconsistent pacing kills videos. If you have a 10-minute video where the first 3 minutes are slow and the last 7 minutes are fast-paced, viewers will watch the fast part and then leave. Maintain consistent energy throughout. This usually means cutting more aggressively than you think you should. If you watch your cut and think "this feels a bit fast," you're probably at the right speed.
Inadequate lighting makes you look unprofessional even if your editing is perfect. You don't need expensive studio lights—a window with natural light is often better. If you're recording indoors, position yourself facing a window so light is hitting your face, not backlighting you. If you must use artificial light, a simple ring light ($20-40) works wonders. Bad lighting makes even professional editing look amateur.
Now, the budget timeline. Here's what a realistic progression looks like for a creator starting from zero:
Months 1-3 (The Free Phase): You're using CapCut on your phone or your computer's built-in webcam. Total cost: $0. Goal: publish 8-12 videos, get comfortable with editing, see if you actually enjoy creating. You're using free stock footage, free music from YouTube's Audio Library, and your phone's microphone (not ideal, but you're learning). Don't spend money yet. Focus on content and consistency.
Months 4-6 (The Small Investment Phase): If you're still excited about creating (and you should be if you've made it this far), invest $50-100. Get a cheap USB microphone ($30-50) and possibly a ring light ($20-40). Move to DaVinci Resolve on your computer if you haven't already. These investments dramatically improve audio and lighting quality. You're still using free software and free resources. Total investment: $50-100.
Months 7-12 (The Modest Growth Phase): If you're getting decent views and engagement, you might invest in a basic camera ($200-400 for an entry-level mirrorless or good smartphone upgrade). You're still using DaVinci Resolve free and YouTube's Audio Library. Your production quality is now noticeably professional. Total additional investment: $200-400.
Year 2+ (The Scaling Phase): Only if you're making consistent revenue from YouTube (through AdSense, sponsorships, or other means) should you consider paid software. By this point, you know exactly what you need. You might invest in DaVinci Resolve Studio ($295 one-time), Epidemic Sound ($10-15/month), or other professional tools. But you've already proven the concept works before spending serious money.
The key is that you're not investing in tools to succeed—you're investing in tools after you've already succeeded with free tools. This is the reverse of how most beginners think about it. This approach also means that when you do eventually upgrade, you're doing it from a position of knowledge, not desperation.
One final note on optimization: if you're on limited hardware or bandwidth, there are tricks. In DaVinci Resolve, use lower resolution proxies for editing (edit in 1080p instead of 4K, then export in 4K). This makes your computer run faster. For uploads, YouTube recommends specific formats and bitrates for faster uploading. Compress your video to 50-150 Mbps bitrate (DaVinci Resolve and CapCut handle this automatically) and you'll upload much faster than uncompressed files. These small optimizations matter when you're working with limited resources.
3.4 Step-by-Step Tutorials for Common YouTube Editing Tasks
Let's walk through specific editing tasks you'll do constantly on YouTube, with exact steps for both CapCut and DaVinci Resolve.
Creating an Engaging Intro (CapCut): Import your footage, trim to the moment you want to start, tap the Text button, add your channel name or video title (use a bold font, large size), tap the Transitions button and add a subtle fade or zoom transition before your intro text appears, set the text duration to 2-3 seconds, tap Effects and add a quick color flash or light leak effect (optional), export. Total time: 2-3 minutes. The key is keeping it under 3 seconds—longer intros cause viewers to click away.
Adding Professional Transitions (DaVinci Resolve): In the Edit page, click between two clips on your timeline, go to the Transitions panel on the right, browse the available transitions (Dissolve, Push, Zoom, etc.), click and drag a transition onto the cut point between your clips, adjust the duration (1-2 frames for subtle, up to 12 frames for more noticeable). Use the same transition style throughout your video for consistency. Most professional YouTube creators use either hard cuts or simple dissolves for 90% of their video, with maybe one or two more creative transitions for emphasis.
Color Correcting a Scene (DaVinci Resolve): Click on a clip in your timeline, go to the Color page, click the color wheel area, adjust the exposure slider if the clip is too dark or bright, adjust the contrast slider for punch, slightly increase saturation if colors look muted. Do this for every clip that looks significantly different from your other footage. Apply the same adjustments to multiple clips by selecting them together (Shift+click) and adjusting once.
Balancing Audio Levels (CapCut): Import your clip, tap the audio track, you'll see a waveform. If your voice-over waveform is much smaller than your background music waveform, your voice is too quiet. Tap the voice-over track, adjust the volume slider up. The visual balance in the waveform should roughly match the importance—dialogue louder than music. Test by listening to a section and adjusting.
Creating YouTube Thumbnails (Free, No Software Needed): Use Canva's free version. Go to Canva.com, click "Create a design", search for "YouTube Thumbnail" (it's already the right size: 1280x720px). Use Canva's templates as a starting point, add a bold headline (1-3 words, large font), add a relevant image (use Canva's free image library or upload your own screenshot), use high contrast colors (bright text on dark background or vice versa), add a reaction shot or image of your face if relevant. Download and upload to YouTube. This takes 5-10 minutes and makes an enormous difference in click-through rate.
Starting a YouTube channel doesn't require expensive equipment, professional software subscriptions, or years of technical training. In 2026, the barrier to entry is lower than ever—you have access to professional-grade editing tools (DaVinci Resolve), mobile-friendly options (CapCut), unlimited free resources (stock footage, music, effects), and a clear progression pathway from hobbyist to professional creator. The real limiting factor isn't tools or budget; it's consistency and willingness to learn.
The most successful YouTube creators understand that content quality and consistency matter infinitely more than equipment quality. A thoughtfully edited video made in CapCut will outperform a poorly edited video made in expensive software. By following the techniques outlined here—strategic cutting, intentional transitions, balanced audio, and organized workflows—you'll create videos that look professional while staying completely within budget. The progression from mobile editing to desktop software, from free tools to optional paid upgrades, gives you a sustainable path forward that doesn't require financial risk.
As you build your channel and your audience grows, you'll naturally discover where you want to invest in tools and upgrades. But that investment will come from a position of knowledge and proven success, not from hoping that better software will somehow make you a better creator. Start with what you have, master the fundamentals, and scale thoughtfully. Your YouTube success depends far more on your editing skills, content strategy, and consistency than on your software choice—and that's genuinely good news for anyone starting on a budget.
If you want a low-lift way to apply these ideas, Aidelly helps you keep your social content consistent without extra busywork. Creating stunning videos on a budget is just the first step—the real challenge for growing creators is staying consistent across all your platforms while managing multiple social channels, responding to comments, and building genuine community engagement without burning out. That's where Aidelly comes in: it helps you schedule your best content across YouTube, TikTok, Instagram, and beyond while maintaining that authentic voice and visual style you've worked so hard to develop, so you can spend less time juggling platforms and more time doing what you do best—creating. If you're ready to streamline your workflow and grow your audience without the stress, get started at aidelly.ai.Compare Social Scheduling Tools
Evaluating software for your content workflow? Use our buyer guides and comparisons to compare scheduling, approvals, analytics, and AI workflow fit.
Share this article
Related Articles
YouTube Live Streaming 101: A Beginner's Guide to Going Live in 2026
Ready to launch your first YouTube live stream but feeling overwhelmed? Whether you're an educator, fitness instructor, small business owner, or creative professional, this comprehensive guide walks you through everything you need to know. From technical setup and equipment requirements to engagement strategies and monetization opportunities, we'll cover the exact steps to get you live and thriving. Learn how to avoid common beginner mistakes, optimize your stream quality, and build a loyal audience—all without breaking the bank on expensive gear.
Mar 1, 2026
Read more
20 YouTube Video Ideas for Beginners to Boost Your Channel in 2026
Starting a YouTube channel from scratch feels overwhelming, but it doesn't have to be. Whether you're a student, career-switcher, or hobbyist, this comprehensive guide breaks down 20 actionable video ideas specifically designed for creators with zero subscribers and minimal equipment. Learn how to create content that the algorithm loves while staying true to your unique voice, plus discover the tactical strategies that separate successful beginner channels from those that fade into obscurity.
Mar 1, 2026
Read more
YouTube Shorts vs. Long Videos: The Complete Growth Strategy for Beginners in 2026
Confused about whether to create YouTube Shorts or long-form videos? This comprehensive guide breaks down the real differences between both formats, backed by 2026 data and algorithms. Discover how to strategically combine Shorts and long videos for explosive growth, sustainable income, and a loyal audience. Includes a practical 90-day roadmap and a calculator tool to determine your optimal content mix based on your specific goals.
Mar 2, 2026
Read moreReady to never miss a post again?
Tell Aidelly what to post. It drafts, schedules, and publishes across 7 platforms while you focus on your business.