How to Run Your First Instagram Ad in 2026: Complete Beginner's Guide to Promoting Posts
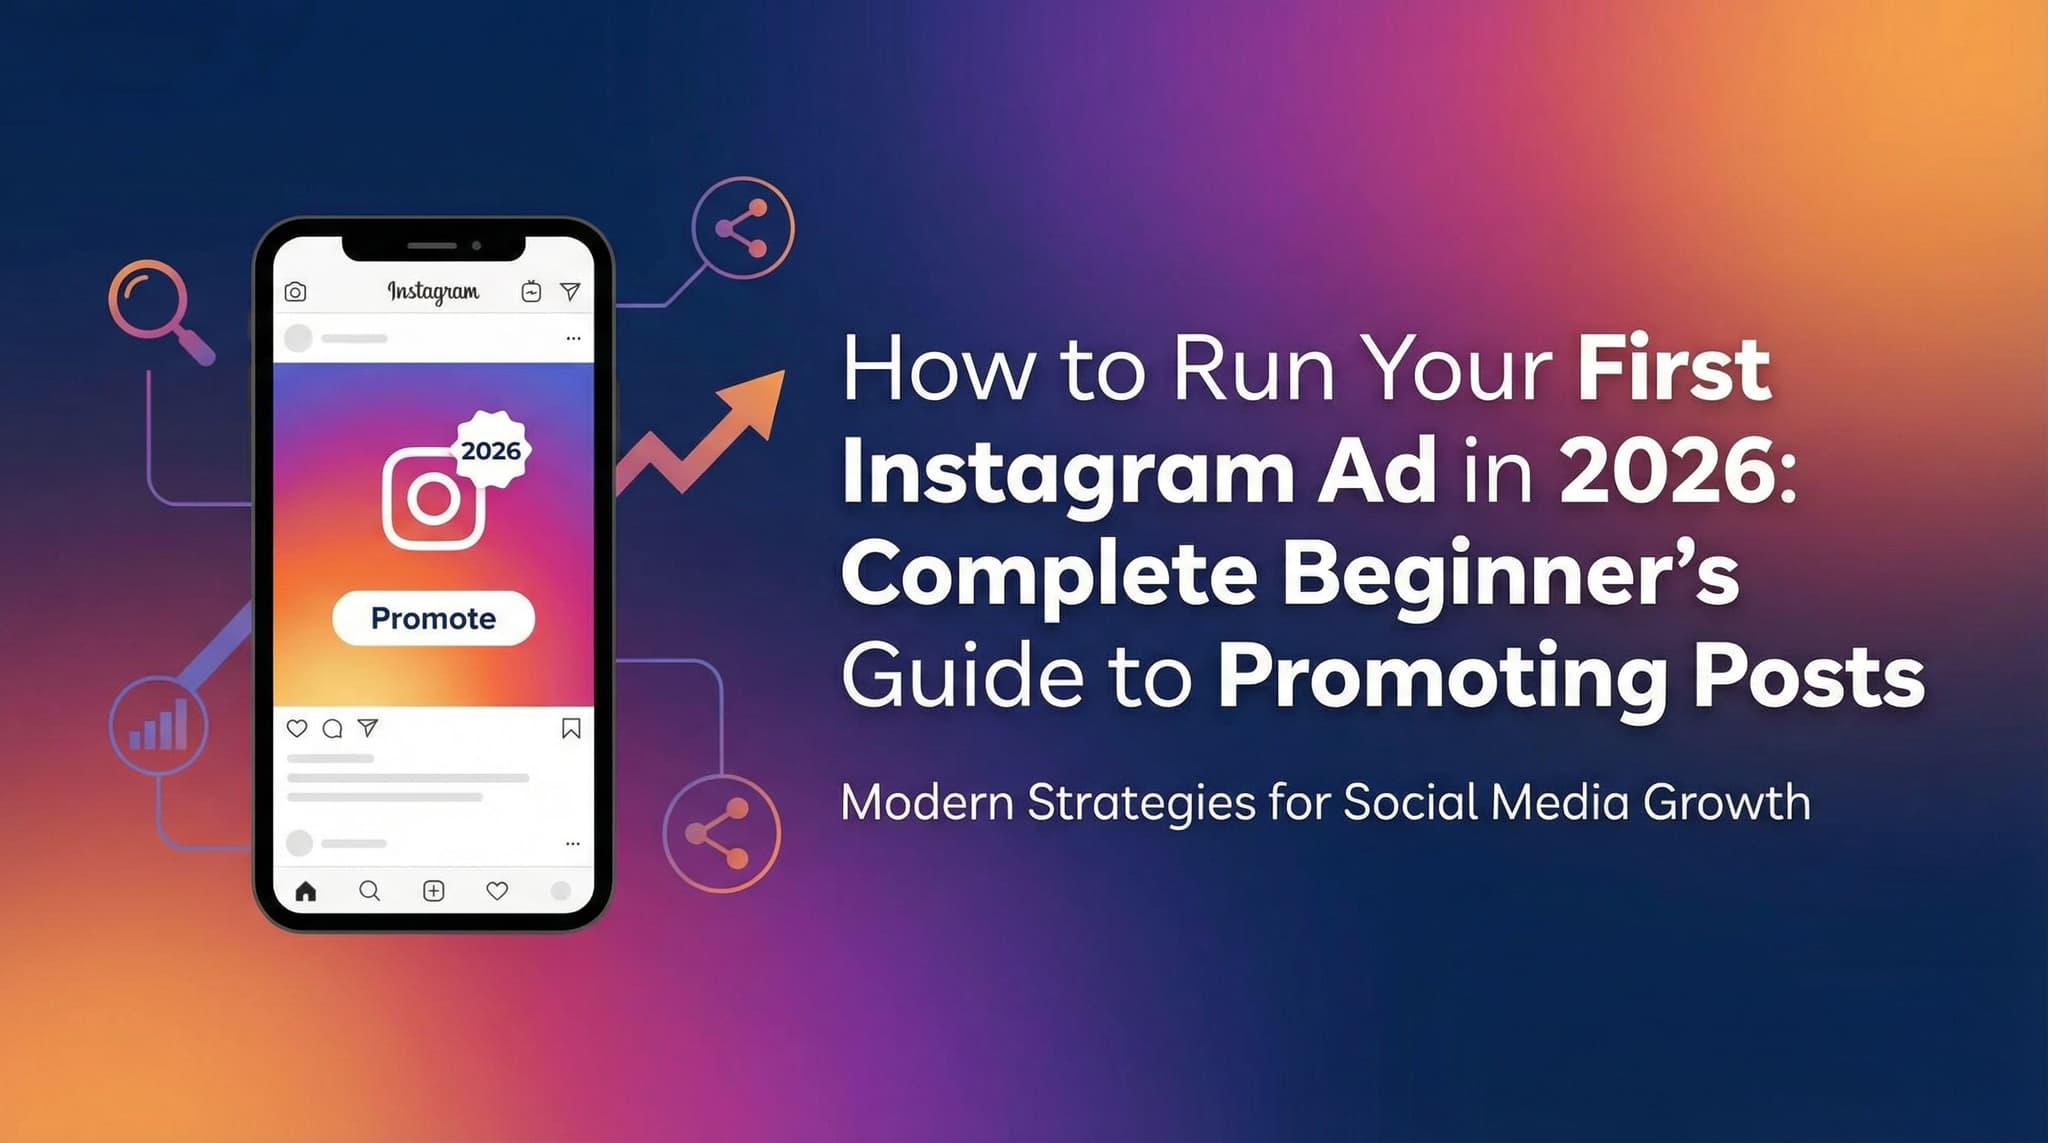
There's a moment every small business owner faces: staring at Instagram's Ads Manager for the first time and thinking, "Wait, where do I even start?" The interface looks complicated, there are a million options, and you're worried about wasting money on ads that nobody clicks. Here's the thing—running your first Instagram ad doesn't require a marketing degree or a hefty budget. In fact, thousands of entrepreneurs just like you are running profitable ad campaigns on budgets smaller than a daily coffee run.
The difference between ads that flop and ads that generate real sales often comes down to understanding a few core principles and avoiding the same beginner mistakes that trip up most first-time advertisers. In this guide, we're going to walk through the entire process together—from connecting your account to interpreting your results—in a way that actually makes sense. By the end, you'll have your first ad running, and you'll understand exactly what to do next to make it better.
Section 1: Getting Started—Setting Up and Understanding Your Options
Before you spend a single dollar, you need to have the right foundation in place. This section covers everything from getting your Ads Manager account connected to understanding the different ad formats available to you. Think of this as the "preparation" phase—it's not glamorous, but it's absolutely essential. Rushing through these steps is where a lot of beginners stumble, so we're going to take our time here.
The good news? Most of this setup takes less than 15 minutes, and once it's done, you never have to think about it again. You'll be able to launch new campaigns quickly and efficiently. Let's break this down into manageable pieces so nothing feels overwhelming.
1.1: Connecting Your Instagram Account and Setting Up Ads Manager
The first step is making sure your Instagram business account is properly connected to Facebook's Ads Manager. If you're still using a personal Instagram account, you'll want to convert it to a business account first. It's a simple process: go to Settings > Account Type and Switch, then select Business. This gives you access to analytics and advertising tools.
Once that's done, head to Facebook's Ads Manager (yes, Facebook manages Instagram ads). You can access it at facebook.com/ads/manager or through your Facebook Business Page. If you don't have a Business Manager account yet, you'll create one here. Think of Business Manager as the control center for all your Facebook and Instagram advertising across multiple accounts and pages.
During setup, you'll connect your Instagram business account to your Business Manager account. This is where Meta (Facebook's parent company) verifies that you own both accounts. You'll be asked to confirm your business information, which takes about two minutes. Make sure the email address you use is one you check regularly—this is where Meta will send important notifications about your account and campaigns.
After that, you'll set up your payment method. Meta accepts credit cards, debit cards, and PayPal. You don't need to deposit money upfront; Meta will bill you as you spend. For your first campaign, we recommend starting with a daily budget of $5 to $10, so you're looking at spending roughly $35 to $70 per week. This is the perfect testing ground without risking significant money.
1.2: Understanding Instagram Ad Formats and Choosing the Right One
Instagram offers several different ad formats, and choosing the right one matters more than you might think. Each format works differently, appeals to different audiences, and performs better for different goals. As a beginner, you don't need to master all of them—but you should understand your main options and pick one to start with.
Feed Ads are the most straightforward option and our top recommendation for beginners. These are single images or videos that appear in people's Instagram feeds, just like regular posts. They blend in naturally with the content people are already scrolling through, which means they tend to feel less intrusive. If you're selling a physical product or promoting a service, feed ads are a solid starting point. They're also the easiest to create—you can literally use a photo you've already posted.
Stories Ads appear between people's Stories and feel more like full-screen content. They work beautifully for driving quick actions (like visiting a link) because they capture attention in a mobile-first way. However, they require vertical video or image format, and they disappear after a few seconds, so your message needs to be crystal clear. Stories ads work well if you have a time-sensitive offer or want to drive immediate traffic.
Reels Ads are the newest and increasingly popular option. These full-screen video ads appear in Instagram's Reels feed and can be up to 90 seconds long. They're excellent for brand awareness and engagement because Reels naturally command attention. However, creating good Reels content takes more effort than a simple photo, so they're better once you've gotten comfortable with ads.
Carousel Ads let you show multiple images or videos in a single ad, and people can swipe through them. These are perfect if you want to showcase different product angles, tell a story across multiple frames, or highlight various benefits. They typically have higher engagement rates but require more creative work upfront.
For your very first campaign, we recommend starting with Feed Ads. They're forgiving, easy to create, and perform well across most industries. Once you see what works, you can experiment with other formats.
1.3: Defining Your Campaign Objective and Why It Matters
Here's something that surprises most beginners: the first choice you make in Ads Manager isn't about targeting or budget—it's about your campaign objective. This single decision shapes how Instagram's algorithm will deliver your ad and who it will show it to. Get this wrong, and you could spend your entire budget showing ads to people who have no intention of taking action.
Instagram offers three main campaign objective categories that matter for most small businesses: Awareness, Consideration, and Conversion. Each one tells Meta's algorithm what you're optimizing for.
Awareness campaigns are designed to get your ad in front of as many people as possible. Meta prioritizes showing your ad to people likely to see and remember it, rather than people likely to click. Use this if you're brand new and want people to know you exist. The downside? It's not ideal for driving immediate sales. Budget example: $5-$10 per day for 2-4 weeks to build brand recognition.
Consideration campaigns focus on getting people interested and engaged with your content. Meta shows your ad to people likely to click, watch your video, or engage with your post. This is the middle ground and works well if you want to drive website traffic or get people to engage with your content. Budget example: $10-$20 per day if you have a clear offer or landing page.
Conversion campaigns are the most powerful for sales-focused businesses. Meta optimizes specifically for people likely to complete an action you define—like making a purchase, signing up for your email list, or booking a call. You need conversion tracking set up (we'll cover this later) for this to work, but when it does, it's incredibly efficient. Budget example: $15-$30 per day minimum for conversion campaigns to give Meta enough data to optimize properly.
For your absolute first campaign, we recommend starting with Consideration if you have a clear offer, or Awareness if you're still building credibility. Conversion campaigns work best once you've got tracking set up and understand your numbers.
Section 2: Targeting, Budget, and Creative—Making Your Ad Actually Work
Now that your account is set up and you understand your options, it's time to make the decisions that actually determine whether your ad succeeds or fails. This is where most beginners either nail it or completely miss the mark. The good news is that these concepts are simpler than they seem once you understand the logic behind them.
Think of this section as the "strategy" part of your campaign. You're deciding who sees your ad, how much you're willing to pay, and what message you're sending them. Get these three things right, and you've got the foundation for a successful campaign. Miss on any of them, and you'll burn through budget without results. Let's make sure you get it right.
2.1: Audience Targeting—Finding the Right People
This is the part that feels overwhelming to beginners, but it doesn't have to be. Instagram's targeting options are incredibly powerful, and you don't need to use all of them. In fact, starting simple is often smarter than trying to be too precise right away.
Demographics are your starting point. This includes age, gender, location, and language. For most small businesses, you'll want to target your geographic area plus maybe a 25-50 mile radius if you're service-based, or nationwide if you sell online. Age targeting depends on your product—a skincare brand might target 25-45, while a kids' toy store targets parents aged 25-55. Keep it reasonable. If you target too narrow an age range, you limit your potential customers.
Interests and Behaviors are where targeting gets smart. Instagram knows what people are interested in based on their activity—pages they follow, posts they engage with, purchases they make, and so on. Let's say you sell yoga mats. You could target people interested in "yoga," "fitness," "wellness," or "healthy living." The key is choosing interests that correlate with your product without being too specific. If you target only "hot yoga," you might miss people interested in general fitness who would love your product.
Custom Audiences are people you already have a relationship with. If you have an email list, you can upload it to Instagram, and Meta will find those people and show them your ads. This is incredibly powerful because these are warm leads—people who already know you. You can also create a custom audience of people who visited your website, engaged with your Instagram, or watched your videos. For your first campaign, if you have an email list of 100+ people, creating a custom audience of them and targeting them with a special offer is a fantastic strategy.
Lookalike Audiences are perhaps the most powerful targeting option once you have some data. Meta creates an audience of people similar to your best customers or website visitors. To use this, you need a source audience (a custom audience of at least 100 people). Once you have that, Meta finds people like them. This is how you scale beyond your warm audience to cold prospects who are likely to convert.
For your first campaign, start simple: choose your location, age range, and 3-5 core interests. Don't overthink it. You can always refine in your next campaign based on what you learn.
2.2: Budget Allocation and Bidding Strategies for Maximum ROI
How much should you spend on your first ad? This is the question that keeps most beginners up at night. The answer is simpler than you think: start small, test, and scale what works. There's no magic budget number that guarantees success. A $5-per-day budget can work beautifully if you have the right targeting and offer. A $100-per-day budget can flop if your ad is poorly designed.
For your very first campaign, we recommend a daily budget of $5-$10. This means you're spending $35-$70 per week. Why so small? Because you're testing. You're learning how Instagram's algorithm works, what resonates with your audience, and what your actual conversion rate is. Once you understand these metrics, you can confidently scale up.
Let's walk through some realistic scenarios:
Scenario 1: You're a service provider (coach, consultant, designer) with a goal of getting people to book a call. Start with $10/day targeting your local area. Run it for 2 weeks. Track how many people click your link and how many book a call. If you get even 2-3 quality leads, that's a win. Once you understand your cost-per-lead, you can calculate whether scaling makes sense.
Scenario 2: You're an e-commerce seller with physical products. Start with $15/day targeting people interested in your product category. Run it for 1-2 weeks. Track your cost-per-purchase. If you're spending $15/day and making 2 sales at $50 profit each, that's a 6-7x return on ad spend (ROAS)—scale it immediately. If you're spending $15/day and making 0 sales, pause it and fix your creative or targeting.
Scenario 3: You're building an audience and want email signups. Start with $5/day targeting people interested in your niche. Run it for 2-3 weeks. Track your cost-per-signup. If you're getting emails for $0.50 each, great. If it's $5 per email, you need to improve your offer or creative.
Regarding bidding strategy: for your first campaign, just use Instagram's "Automatic Bidding" option. This means Meta sets bids to get you the best results within your budget. You're not competing in an auction—Meta handles the complexity. Once you're more experienced, you can explore manual bidding, but it's not necessary to start.
One critical rule: never run a campaign with less than a $50 total budget for an entire week. Smaller budgets don't give Meta enough data to optimize properly. If $10/day feels too high, run it for 5 days instead of 7, but don't go below $50 total.
2.3: Creating Compelling Ad Creative That Gets Results
Your targeting could be perfect, and your budget could be ideal, but if your ad creative is boring, nobody will click it. This is where so many beginners fail. They create an ad that looks good to them and assumes everyone else will be impressed. In reality, your audience is scrolling quickly, and your ad has about 1 second to grab their attention.
Images and Videos: What Actually Works
The best ad images are clear, bright, and feature your product or service prominently. Avoid busy backgrounds that distract from your main message. If you're selling a product, show it in use or in context. A photo of a coffee mug sitting alone is less compelling than a photo of someone enjoying coffee from your mug on a cozy morning. If you're a service provider, consider using a professional photo of yourself—people buy from people, not faceless brands.
For videos, keep the first 3 seconds absolutely critical. Most people watch videos with sound off in their feed, so your message needs to be clear from the visuals alone. Use text overlays. Show the benefit immediately. A 6-15 second video is ideal for feed ads; 15-30 seconds for Reels.
Here's a specific example: Let's say you sell handmade skincare products. Instead of just showing a photo of the product, show someone applying it with the text overlay "90% of users see results in 2 weeks." Then show before/after photos. That's a story, and stories sell.
Copy: Say What Matters
Your ad copy should answer one question: "Why should I care about this?" Don't lead with your company name or generic statements. Lead with the benefit or the problem you solve. Here are two examples:
Weak: "Check out our new yoga mat collection. High quality, affordable prices."
Strong: "Finally, a yoga mat that doesn't slip during downward dog. Plus, it's made from recycled materials."
The strong version speaks to a specific problem (slipping mats), shows a benefit (made from recycled materials—appeals to eco-conscious people), and creates curiosity. Keep copy to 2-3 sentences maximum. People are scrolling, not reading essays.
Call-to-Action Buttons: Be Crystal Clear
Instagram gives you button options: "Learn More," "Shop Now," "Sign Up," "Book Now," "Download," "Contact Us," and more. Choose the button that matches your objective. If you want people to make a purchase, use "Shop Now." If you want them to book a consultation, use "Book Now." Don't be clever or vague here. Your CTA should be obvious and match what happens when they click.
Pro tip: Make sure your landing page (the page people go to when they click) matches your ad. If your ad says "Get 20% Off," they should land on a page that immediately shows that offer. If there's a mismatch, people bounce, and you waste money.
Section 3: Tracking, Testing, and Optimization—Making Your Ad Better
You've launched your ad. Now what? This is where most beginners either give up or throw money at ads without understanding what's actually happening. The difference between a mediocre campaign and a successful one is simple: measurement and iteration. You need to know what's working, what's not, and why. Then you need to test changes and measure again.
This section might be the most important part of the entire guide. Because here's the truth: your first ad probably won't be perfect. That's not a failure—it's expected. What separates successful advertisers from those who quit is the willingness to measure, learn, and improve. Let's make sure you know how to do that.
3.1: Setting Up Conversion Tracking and the Meta Pixel
Before you launch a conversion campaign, you need conversion tracking set up. This is how Instagram knows when someone actually completes a desired action—a purchase, a signup, a form submission, whatever matters for your business. Without this, you're flying blind. You can't optimize toward conversions if you're not actually tracking them.
The tool that makes this possible is called the Meta Pixel. Think of it as a tiny piece of code that sits on your website and reports back to Instagram whenever someone does something important. When someone buys from your store, the pixel says, "Hey, this person converted!" Instagram's algorithm learns from this and starts showing your ads to more people like that person.
Setting Up the Meta Pixel
In Ads Manager, go to Pixels (under Data Sources). Click "Create a Pixel." You'll give it a name (something like "My Store Pixel" is fine) and select your timezone. Meta will generate a code snippet. If you use Shopify, WooCommerce, or any modern e-commerce platform, there's usually a simple integration—just paste your Pixel ID and you're done. If you have a custom website, you'll need to paste the code into your website's header, or ask your web developer to do it.
Once the pixel is installed, it starts collecting data. You'll see conversion events like:
- ViewContent: Someone viewed a product page
- AddToCart: Someone added something to their cart
- Purchase: Someone completed a purchase
- Lead: Someone submitted a form (email signup, contact form, etc.)
- CompleteRegistration: Someone signed up for an account
For your first campaign, you probably care about one of these events. If you're an e-commerce store, track "Purchase." If you want email signups, track "Lead." If you're a service provider wanting consultations, track "Lead" (the form submission).
Connecting Your Pixel to Your Campaign
When you create a conversion campaign, you'll select which event to optimize for. Instagram will show your ads to people most likely to complete that event. This is incredibly powerful, but it requires data. That's why you need at least 50 conversions in a 7-day period before Meta's algorithm really starts optimizing properly. If you're just starting out, this might take 1-2 weeks. Be patient—the algorithm gets smarter as it collects more data.
Important note: If you're running ads to a Shopify store, Facebook Shop, or Instagram Shop, conversion tracking is often automatic. Meta can see purchases directly. If you're driving traffic to an external website, you need to install the pixel manually.
3.2: A/B Testing—How to Know What Actually Works
Here's the secret that separates successful advertisers from those spinning their wheels: the best ad you can create probably isn't your first ad. It's the result of testing multiple versions and finding what works. This process is called A/B testing, and it's simpler than it sounds.
A/B testing means running two versions of an ad that differ in one way, measuring which performs better, and then using that learning to improve. You might test different images, different copy, different audiences, or different offers. The key rule: change one thing at a time. If you change your image AND your copy AND your audience, you won't know which change actually made the difference.
What to Test First
For your first campaign, we recommend testing images or videos first. Create 3-4 variations of your ad with different visuals but identical copy and audience. Run them simultaneously for 3-5 days. Measure which image gets the best click-through rate (CTR) or conversion rate. The winner becomes your control, and you test something else next.
Here's a real example: You're promoting a course on social media marketing. Your first ad uses a photo of yourself at a desk. Your second ad uses a student testimonial video. Your third ad uses a graphic showing "5 Mistakes in Your Instagram Strategy." Run all three for 5 days with a $10/day budget ($50 total). Measure which gets the most clicks or conversions. Maybe the graphic gets 2x the engagement of your photo. Now you know: your audience responds better to educational content than personal branding.
Testing Copy and Offers
Once you've dialed in your image, test your copy. Keep everything else the same. Test these variations:
- A version with a specific benefit: "Save 5 hours per week managing Instagram"
- A version with social proof: "Join 500+ entrepreneurs who've grown their following"
- A version with urgency: "Limited time: 40% off this week only"
- A version asking a question: "Tired of struggling with Instagram? We can help."
Run each for 5 days. Track which gets the best response. Your audience will tell you what resonates.
Testing Audiences
Once your creative is strong, test audiences. Create two identical ads with the same image and copy, but target different audiences. Maybe one targets "fitness enthusiasts" and another targets "health coaches." Run both for a week and see which audience engages more and converts better. This data is gold—it tells you where your real customers are.
The Testing Mindset
Here's the important part: approach testing with curiosity, not attachment. Your first idea might not be the winner, and that's okay. The goal isn't to prove you're right—it's to find what actually works. Some of the most successful ads are ones the creator didn't expect to win. Stay flexible, test consistently, and let your data guide you.
3.3: Monitoring Metrics and Interpreting Results
Your ad is running. You've got conversion tracking set up. You're testing variations. Now you need to understand what the numbers actually mean. This is where most beginners get lost in the data and don't know what action to take.
The Key Metrics You Need to Know
Click-Through Rate (CTR): This is the percentage of people who see your ad and click it. If 1,000 people see your ad and 50 click it, your CTR is 5%. On Instagram, a good CTR is typically 1-3% for most industries. If your CTR is below 1%, your creative or targeting needs work. If it's above 3%, you're doing well. What to do: Low CTR? Test new images or copy. High CTR? Keep this ad running and test scaling the budget.
Cost Per Click (CPC): This is how much you pay for each click. If you spend $50 and get 100 clicks, your CPC is $0.50. Lower is better. A good CPC depends on your industry—a B2B service might have a $2-5 CPC, while an e-commerce store might target $0.50-1.50. What to do: If your CPC is high, your audience might be too broad or your creative isn't compelling. Try narrowing your audience or improving your ad.
Conversion Rate: This is the percentage of people who click your ad and actually convert (make a purchase, sign up, book a call, etc.). If 100 people click your ad and 5 make a purchase, your conversion rate is 5%. A good conversion rate varies wildly by industry, but 1-5% is typical for most online businesses. What to do: Track this religiously. If your conversion rate is low, the problem is usually your landing page, not your ad. Make sure your landing page clearly explains the offer and has a simple checkout or signup process.
Return on Ad Spend (ROAS): This is the holy grail metric for e-commerce. It's the ratio of money you made to money you spent. If you spent $100 on ads and made $500 in sales, your ROAS is 5x. A ROAS of 3x or higher is considered profitable for most businesses (you need to cover the cost of goods and other expenses). What to do: If your ROAS is below 2x, the campaign isn't profitable yet—pause it and improve your targeting or creative. If it's 3x+, scale your budget.
Cost Per Acquisition (CPA) or Cost Per Lead: This is how much you spend to get one customer or lead. If you spend $100 and get 10 customers, your CPA is $10. Lower is better, but what matters is whether your CPA is lower than the profit you make from that customer. If a customer is worth $50 in profit and your CPA is $10, you're winning. What to do: Calculate your break-even CPA (how much you can spend per customer and still be profitable), then work toward achieving it.
Frequency: This is how many times the average person sees your ad. If your frequency is above 3, people are seeing your ad multiple times. This can be good (reinforces your message) or bad (people get annoyed and ignore it). What to do: If frequency is high and your CTR is dropping, create new ad variations to keep things fresh.
How to Interpret and Act on Your Data
Here's how to actually use this information to make decisions:
Week 1-2 of your campaign: Don't panic about small numbers. You're just gathering data. Track your metrics, but don't make big changes yet. Let the algorithm learn. At the end of week 2, look at your overall performance. Are you getting clicks? Is your CPC reasonable? Is your conversion rate in the ballpark? If yes, keep going. If no, pause and fix your creative or targeting.
Week 3-4: You now have real data. Calculate your ROAS or CPA. Is it profitable? If yes, consider scaling your budget by 20-30%. If no, pause the campaign and improve it before scaling.
Ongoing: Check your metrics 2-3 times per week. Don't obsess daily—campaigns need time to stabilize. Watch for trends. Is CTR declining? That might mean frequency is too high, and you need new creative. Is CPC increasing? That might mean your audience is getting saturated, and you need to expand your targeting.
Common Beginner Mistakes in Metric Interpretation
Don't expect immediate perfection. Your first campaign probably won't have a 10x ROAS. Expect 1-2x in the early weeks as you optimize. Don't focus only on clicks. Clicks are vanity metrics. What matters is conversions and revenue. A campaign with 100 clicks and 0 conversions is worse than a campaign with 10 clicks and 2 conversions. Don't change everything at once. If your numbers aren't great, make one change, run it for another week, and measure again. The algorithm needs time to adapt.
3.4: Common Beginner Mistakes to Avoid
We've covered a lot of ground, and you're probably feeling more confident about running ads. But before you launch, let's talk about the mistakes that trip up most beginners. Knowing these can save you hundreds of dollars in wasted ad spend.
Mistake 1: Targeting Too Broadly or Too Narrowly
Too broad: Targeting "everyone aged 18-65 interested in anything" might seem smart (more people = more sales), but it's actually wasteful. You're paying to show ads to people who will never buy. Too narrow: Targeting only "women aged 35-40 interested in yoga AND pilates AND wellness AND fitness" might be so specific that there aren't enough people to show your ad to, and the algorithm can't optimize properly.
Fix: Start with one clear demographic and 3-5 core interests. Test, measure, and refine based on data. Your second campaign can be more specific.
Mistake 2: Unclear or Weak Calls-to-Action
If your ad doesn't tell people what to do next, many won't do anything. "Learn More" is vague. "Shop Now" or "Book a Call" is clear. Your CTA button should match your actual objective, and your landing page should immediately deliver on the promise of your ad.
Fix: Choose a specific CTA button, make sure your landing page matches it, and test different CTAs to see which gets better response rates.
Mistake 3: Inadequate Budget or Running Campaigns Too Short
A $3/day budget is almost guaranteed to fail. Meta's algorithm needs at least $50/week to gather enough data to optimize. Running an ad for 2-3 days isn't enough time for the algorithm to learn. You're essentially paying to teach Instagram what works, then pausing before it can actually perform.
Fix: Commit to at least $50 total budget per campaign and run it for at least 7 days. This gives Meta the data it needs to optimize and gives you meaningful results to measure.
Mistake 4: Poor Quality Creative
Blurry images, tiny text, confusing videos, or ads that look like they were made in 5 minutes will get ignored. People judge quality instantly. If your ad looks cheap, they assume your product or service is cheap too.
Fix: Invest time in creating quality visuals. Use Canva (free templates), hire a designer on Fiverr ($50-200), or use professional photos you've already taken. Make sure text is readable, colors are appealing, and your main message is clear within 1 second.
Mistake 5: Not Tracking Conversions
If you're not tracking what actually matters (sales, signups, calls booked), you have no idea whether your campaign is working. You might be generating clicks but zero conversions, and you won't even know it.
Fix: Set up the Meta Pixel before you launch. Track the one action that matters most for your business. Check your conversion data weekly.
Mistake 6: Comparing Your Campaign to Others' Best Results
You see someone post about their 10x ROAS campaign, and you think your 2x ROAS campaign is failing. In reality, that person probably ran 20 campaigns to get that one winner. You're seeing their highlight reel, not their full story.
Fix: Focus on your own metrics and progress. Is your ROAS improving week over week? Are your costs declining as you optimize? That's success. Compare yourself to your own baseline, not someone else's exceptional results.
Running your first Instagram ad doesn't have to be intimidating. By following these steps—setting up your account properly, choosing the right format and objective, targeting thoughtfully, creating compelling creative, and most importantly, measuring and testing—you've got everything you need to launch a campaign that actually works. Remember, your first ad is just the beginning. The real magic happens when you measure your results, learn what your audience responds to, and iterate from there.
The entrepreneurs who succeed with Instagram advertising aren't the ones who got it perfect on the first try—they're the ones who stayed curious, tested consistently, and let their data guide their decisions. Start with a small budget, measure everything, and be willing to adjust. Within a few weeks, you'll have insights about your audience that most businesses never discover. You'll know exactly what images resonate, what copy converts, and who your ideal customer actually is. That knowledge becomes your competitive advantage, whether you're managing ads yourself or eventually scaling with a larger budget or team.
The best time to start was yesterday. The second-best time is right now. Set up your Ads Manager, pick an offer, create one solid ad, and launch it today. Your future self will thank you for taking action.
If you want a low-lift way to apply these ideas, Aidelly helps you keep your social content consistent without extra busywork. Running your first Instagram ad is just the beginning—the real growth happens when you combine paid promotion with a consistent content strategy that keeps your audience engaged between campaigns. While ads bring new eyes to your account, it's the steady stream of quality posts, Stories, and Reels that transforms those curious clicks into loyal followers who actually care about what you're sharing. If you're feeling overwhelmed juggling ad creation, content calendars, and audience engagement all at once, Aidelly takes that pressure off by helping you plan and schedule your posts, so you can focus on what matters: growing your audience with consistent, engaging content and building meaningful connections with your followers. Get started at aidelly.ai and let your content strategy work alongside your ads to unlock real, sustainable growth.Compare Social Scheduling Tools
Evaluating software for your content workflow? Use our buyer guides and comparisons to compare scheduling, approvals, analytics, and AI workflow fit.
Share this article
Related Articles
20 Instagram Post Ideas for Small Businesses & New Creators in 2026: Proven Strategies to Boost Engagement
Running a small business or building your creator brand on Instagram doesn't require a massive budget or advanced technical skills—it requires smart, consistent content strategy. This comprehensive guide walks you through 20 actionable Instagram post ideas specifically designed for accounts under 100K followers, complete with real-world examples, implementation strategies, and insider tips for maximizing engagement without burning out. Whether you're a solopreneur, e-commerce seller, or aspiring influencer, these practical templates will help you create content that resonates, builds community, and drives real results.
Feb 7, 2026
Read more
How to Create the Perfect Instagram Bio in 2026: Complete Guide with Templates and Examples for Beginners
Your Instagram bio is your first impression—and you've got about 150 characters to make it count. Whether you're a small business owner, aspiring influencer, or freelancer building your personal brand, this comprehensive guide walks you through every element of crafting a bio that actually converts. From strategic keyword placement and emoji usage to link-in-bio optimization and A/B testing tactics, you'll discover actionable templates for different niches and learn the common mistakes that could be holding back your follower growth. Ready to turn your Instagram profile into a conversion machine?
Feb 7, 2026
Read more
Best Times to Post on Instagram for Maximum Engagement: 2026 Guide for New Users
Struggling to figure out when to post on Instagram? You're not alone. The truth is, there's no one-size-fits-all answer—but there absolutely is an optimal posting schedule unique to YOUR audience. In this comprehensive guide, we'll walk you through exactly how to discover your personal peak posting times using Instagram's built-in analytics, real-world case studies from different niches, and a data-driven testing framework. Whether you're a small business owner, content creator, or just trying to grow your following, you'll learn why timing matters, how the algorithm works, and the specific strategies that actually move the needle.
Feb 7, 2026
Read moreReady to never miss a post again?
Tell Aidelly what to post. It drafts, schedules, and publishes across 7 platforms while you focus on your business.